SONY A7III & A7RIII
surf photography camera setup

I often get asked for advice on camera settings so I thought it could be helpful to put together a guide of how I setup my Sony A7III & A7RIII cameras for surf & ocean photography. Most of the info should also be useful for any type of sports or fast paced photography. There’s no wrong or right way to shoot a photo, with is one of the reasons I love photography. So I’m definitely not saying this is the best way, or correct way, it’s just my way. Also I’m not claiming to be the grand wizard of surf photography, but I love getting deep into tech camera features, so hopefully there’ll be some useful information in here for you, if not enjoy the photos!

Some of my favourite equipment for shooting surf and ocean images.
Sony 100-400mm f/4.5-5.6 is a great lens for shooting from land. It also has the option of adding a 1.4x Teleconverter to give you a bit more reach.
The Sony A7RIII is my all time favourite camera. 42 Megapixel full frame sensor that can shoot 10 frames per second! Pictured here with the Sony 90mm f/2.8 macro which is my go to prime for shooting in the water. For a full run-down of all the Sony cameras & lenses I use click here.
The Seafrogs A7RIII waterhousing is my housing of choice when swimming. I have a full detailed review on this housing you can checkout here.
The Basics


I’m going to get pretty deep into detail with camera settings throughout this post but thought I’d quickly run through some basic settings that will be enough to get you out there shooting. I’m basing my guide here on the settings I use for the Sony A7RIII as that’s my go to camera, but most of the general advice should be universal and still be relevant no matter what camera system you shoot although each brand may use slightly different terminology.
When shooting surf and ocean images I only ever shoot in 2 different camera modes. Aperture Priority (A Mode) or Manual (M Mode).
APERTURE PRIORITY (A Mode)
The majority of the time I’m shooting surf from land or water in reasonable light I’ll be shooting in aperture priority mode. For me this is the simplest and most efficient way to shoot. I’ll set the aperture to around f/7.1-8.0 to make sure I have decent depth of field throughout my image and then set the ISO to auto. But there’s one other often overlooked setting you need to nail and that’s to set the ISO auto minimum shutter speed to 1/1000th of a second. On the Sony A7RIII you can set both of these on screen 9 of menu 1, but I would advise adding ISO and ISO AUTO Min SS both to customs buttons so you can access them easily.

What this means is that after you lock in your aperture, your camera will meter the scene for the correct exposure and adjust the ISO accordingly up and down to achieve a perfect exposure but it will never let the shutter speed drop below 1/1000th of a second which is around where you want it for fast moving subjects like waves and surfers. You could just shoot in manual and lock your shutter speed to 1/1000th, but the beauty of this system is although your shutter speed can’t drop below 1/1000th, it can go above, so if you get a patch of intense sunlight your shutter can go up to 1/8000th if necessary to give you an accurate exposure.
The reason I prefer to shoot this way is because lighting in the ocean is very rarely consistent. I might be swimming at a beach break and shooting with the sun behind me looking into a right one minute and then spin around and shoot directly into the sun on a left. I find shooting in Aperture Priority gives me very accurate exposures without having to be constantly changing my settings. Things happen so quickly in the ocean, I’d rather be concentrating on my positioning and composition rather than fiddling with my camera settings. If I want the images to be a little darker or brighter I can use the exposure compensation wheel to adjust how the camera is metering.
Ok so that was a bit more info than I imagined for basic settings ha ha! So for most conditions for consistent accurate exposures just set your camera up as below.
APERTURE PRIORITY SUMMARY: A-Mode, Aperture 7.1 or 8.0, Auto ISO, ISO Auto Min SS 1/1000th
MANUAL (M Mode)
Generally the only times I will switch to manual is when I want to get a bit more creative and do something like shoot slow shutter images at sunrise or sunset. To create these type of images you are really going against the standard rules of photography and how cameras are setup to work with auto metering features so you are better to take full control. When I’m shooting in manual I’ll constantly be adjusting my settings as the light changes.
MANUAL MODE SUMMARY – There are no magic settings, if you want to shoot manual you’ll need to be constantly adjusting with the light.

FOCUSING
When I’m shooting moving subjects I always shoot in Continuous Focus Mode (AF-C for Sony). What this means is while your trigger finger is half pressed the camera will continuously be adjusting focus for whatever is in your focus area. So if a surfer is flying towards you and you have your finger half down on the shutter the focus will be tracking them.
When I’m shooting in the water I like to have the focus area set as a medium size flexible spot which I set either in the centre of the frame or slightly lower centre depending on how I want my composition to look. It can be quite difficult to move your focal point when your camera is in a housing so having it in the centre works well for most situations. I have a trick I use to switch between these 2 different focal point positions quickly which you can read about in the AF Area Regist section below. When I’m shooting from the land I’ll also shoot with a medium flexible spot but I will move it around the frame to suit my composition.
The key to getting accurate focus is to position your focal point on an area with a lot of contrast in the frame. The more contrast, the easier you’ll make it for your camera to lock on focus. So for a surfer I wouldn’t position my focal point in the middle of a black wetsuit as the whole focal point might be covered by flat black so it may struggle. I’d rather position the focal point over their face, where there’s a lot more contrast between dark and light for the camera to lock onto. Same with an empty wave, generally the lip area will have a lot more contrast than the wave face.
FOCUSING SUMMARY: AF-C, Flexible Spot:M

Sony A7III & Sony A7RIII Camera Settings

Righto! Now it’s time to get deep into those camera menus and show you how I setup my camera to shoot surf and ocean images. I’m only going to give you a run-down of the relevant camera settings I adjust specifically for surf and ocean photography. I’m using the Sony A7RIII for this guide, the Sony A7III would be exactly the same. Most other Sony cameras will be similar and although other manufacturers will have a different menu system and slightly different terminology most of the information should be transferable over to other camera systems.
If you have an A7RIII or A7III it will be easy to follow along by using the numbers on top of the menu (below is in Menu 1) and noting the menu screen numbers (below is 1/14).

File Format – I only shoot RAW. There’s just a lot more information in a RAW file that you can use when editing your images. Basic stuff like being able recover lost highlight or shadow detail is worth it alone. The more you learn about post processing in Lightroom (or other applications) the more you’ll appreciate RAW files. If you are not confident in processing RAW files and you just want to shoot JPEGs then consider shooting both RAW & JPEG formats at the same time. You can have your JPEG quick fix and then if you nail a super sick shot and say a magazine wants to run it then you can give them the RAW. Or just think of future you, once you get your post processing dialled you’ll be stoked to go back to your earlier work and have the RAWs to re-edit.
RAW File Type – I shoot compressed RAWs. The Sony A7RIII shoots massive 42 megapixel files and if I was to shoot uncompressed they would be double the size. That’s going to make everything run slower, your camera will take longer to buffer (process the images), your computer will take longer to load and process the images, your cards will fill up faster as will your hard drives. I find there is very minimal difference to the compressed and uncompressed RAWs. Uncompressed you’ll be able to push a little harder in post processing, like if you wanted to really bring up extreme shadow details etc. But personally I find the compressed RAWs great to work with. If I was shooting landscapes I might switch to uncompressed.

Focus Mode – Continuous AF as described in the basic section above.
Priority Set in AF-S – I don’t use single-shot AF but this setting works the same as the next description below.
Priority Set in AF-C – This is where you dictate if you can fire a shot when your subject is out of focus. I don’t see the point in having any out of focus photos, so I’d rather the shutter didn’t fire until it’s focused properly so I set to AF.
Focus Area – As described above in the basic section, Medium flexible spot is my go to.

AF Track Sens – You can adjust how sensitive your autofocus is. 1-5 scale where 1 will keep it locked when other things are crossing in front of your subject and 5 will just grab anything that pops up in the frame. If you were shooting surfing from the beach and some whitewash splashed up off the rocks in front of you, you wouldn’t want your focus to instantly latch onto the whitewash, so I set mine on 2.
AF w/ shutter – Some photographers like to disable the auto focus from their shutter button so all it does is fire off frames. And then you can assign another button (usually the AF-ON button you can see top right) and use that to focus instead. So focusing and shooting are two different buttons. A technique called back button focus that a lot of folks swear by. For me I feel the Continuous AF mode does a great job so I just keep my AF assigned to the shutter button. Occasionally if I was shooting in very challenging light and struggling to lock on focus I might switch to back button focus like in this image where I have focused on the foreground water at sunrise.

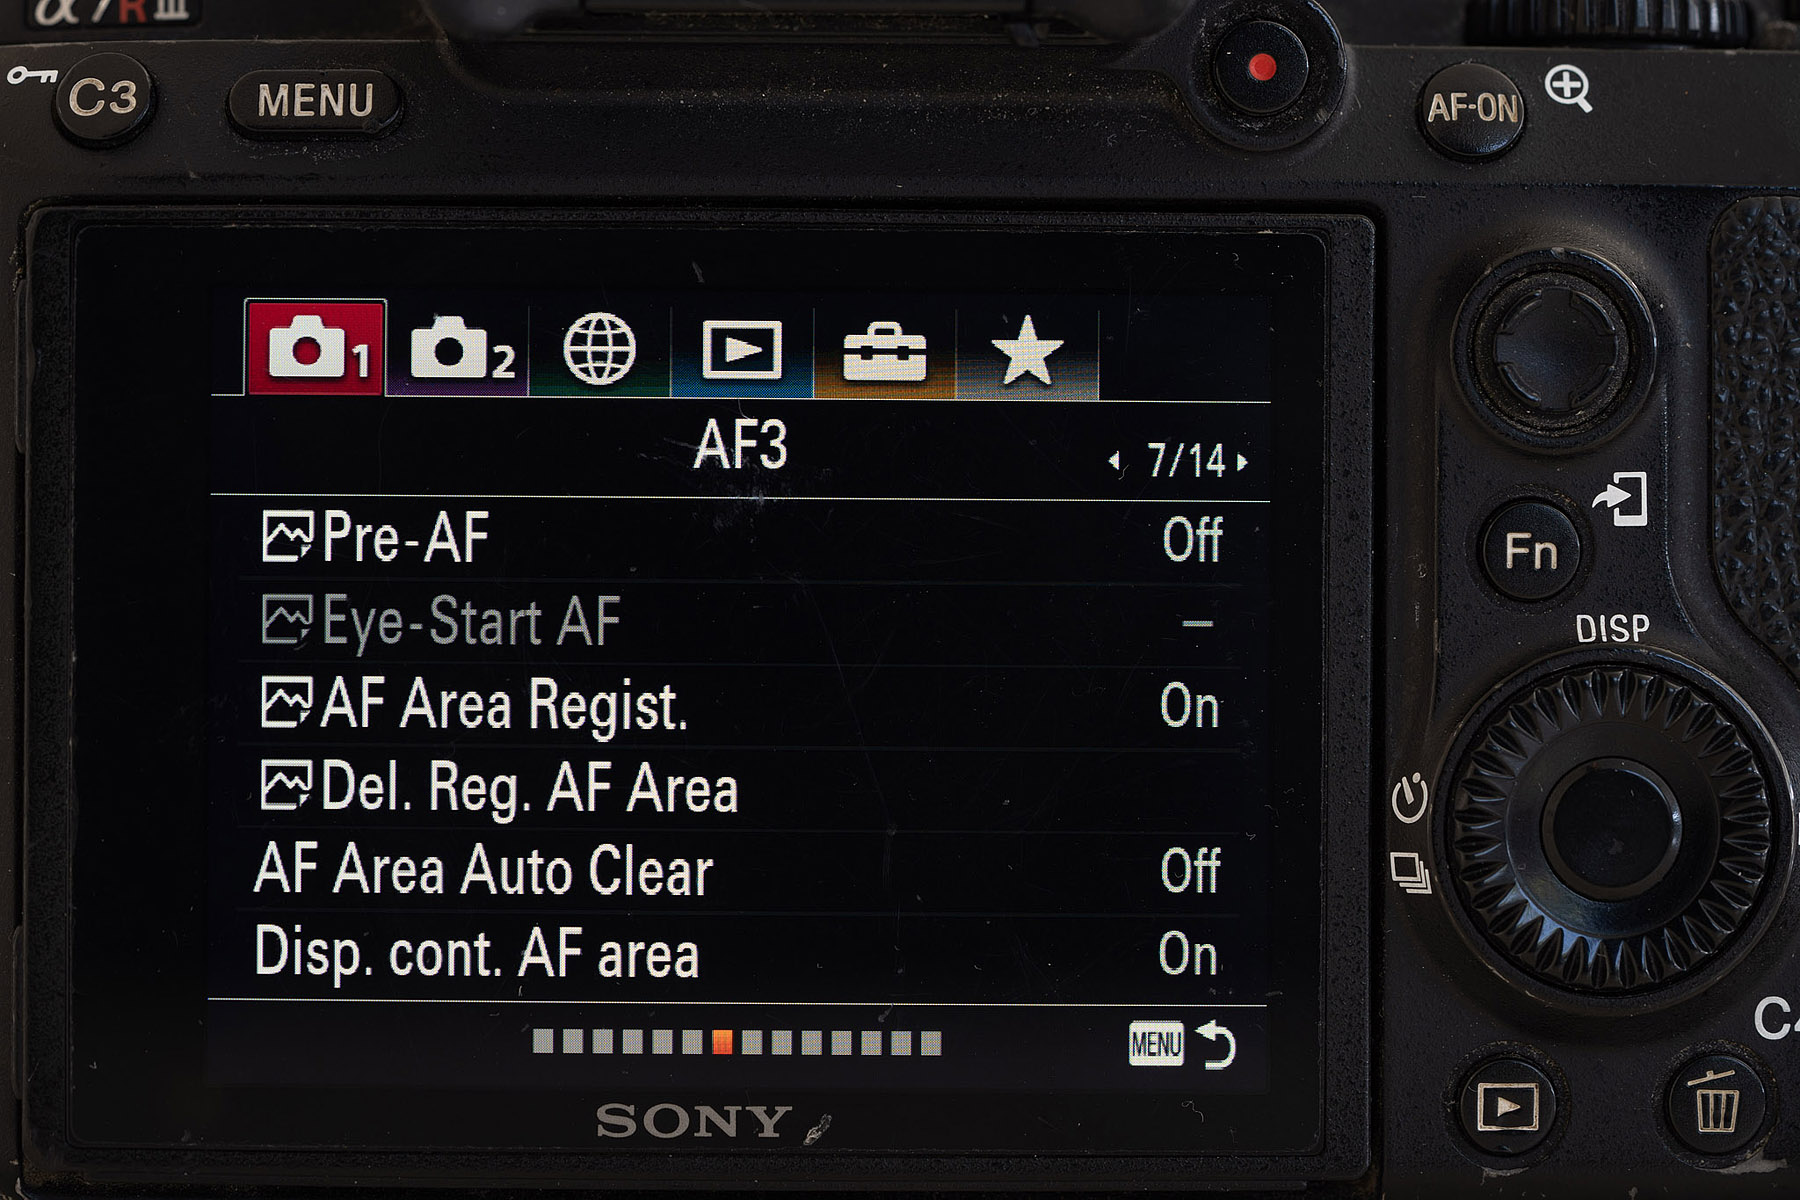
Pre-AF – If you have this switched on your camera will be constantly auto-focusing even without you half depressing the shutter. Kind of handy if you always want to be ready to go, but will drain your battery a lot quicker so I turn it off.
AF Area Regist. – This is a really cool and useful feature that I only recently discovered. If you have it turned you can register a particular focal point position. Then you can setup a custom button that will toggle between your current focal point position and your chosen custom position. It’s really difficult (impossible) to use the focal point joystick when your camera is in a water housing, so what I do is I register my focal point position so it is low in the centre. Then when I setup my camera in the housing I position the focal point dead in the centre of the frame. When I’m out swimming if a wave breaks further down the beach then I hit custom button 3 and it instantly moves the focal point from the centre of the frame to lower middle and I can position the wave a lot lower in the frame giving it a nicer composition as in the image below.


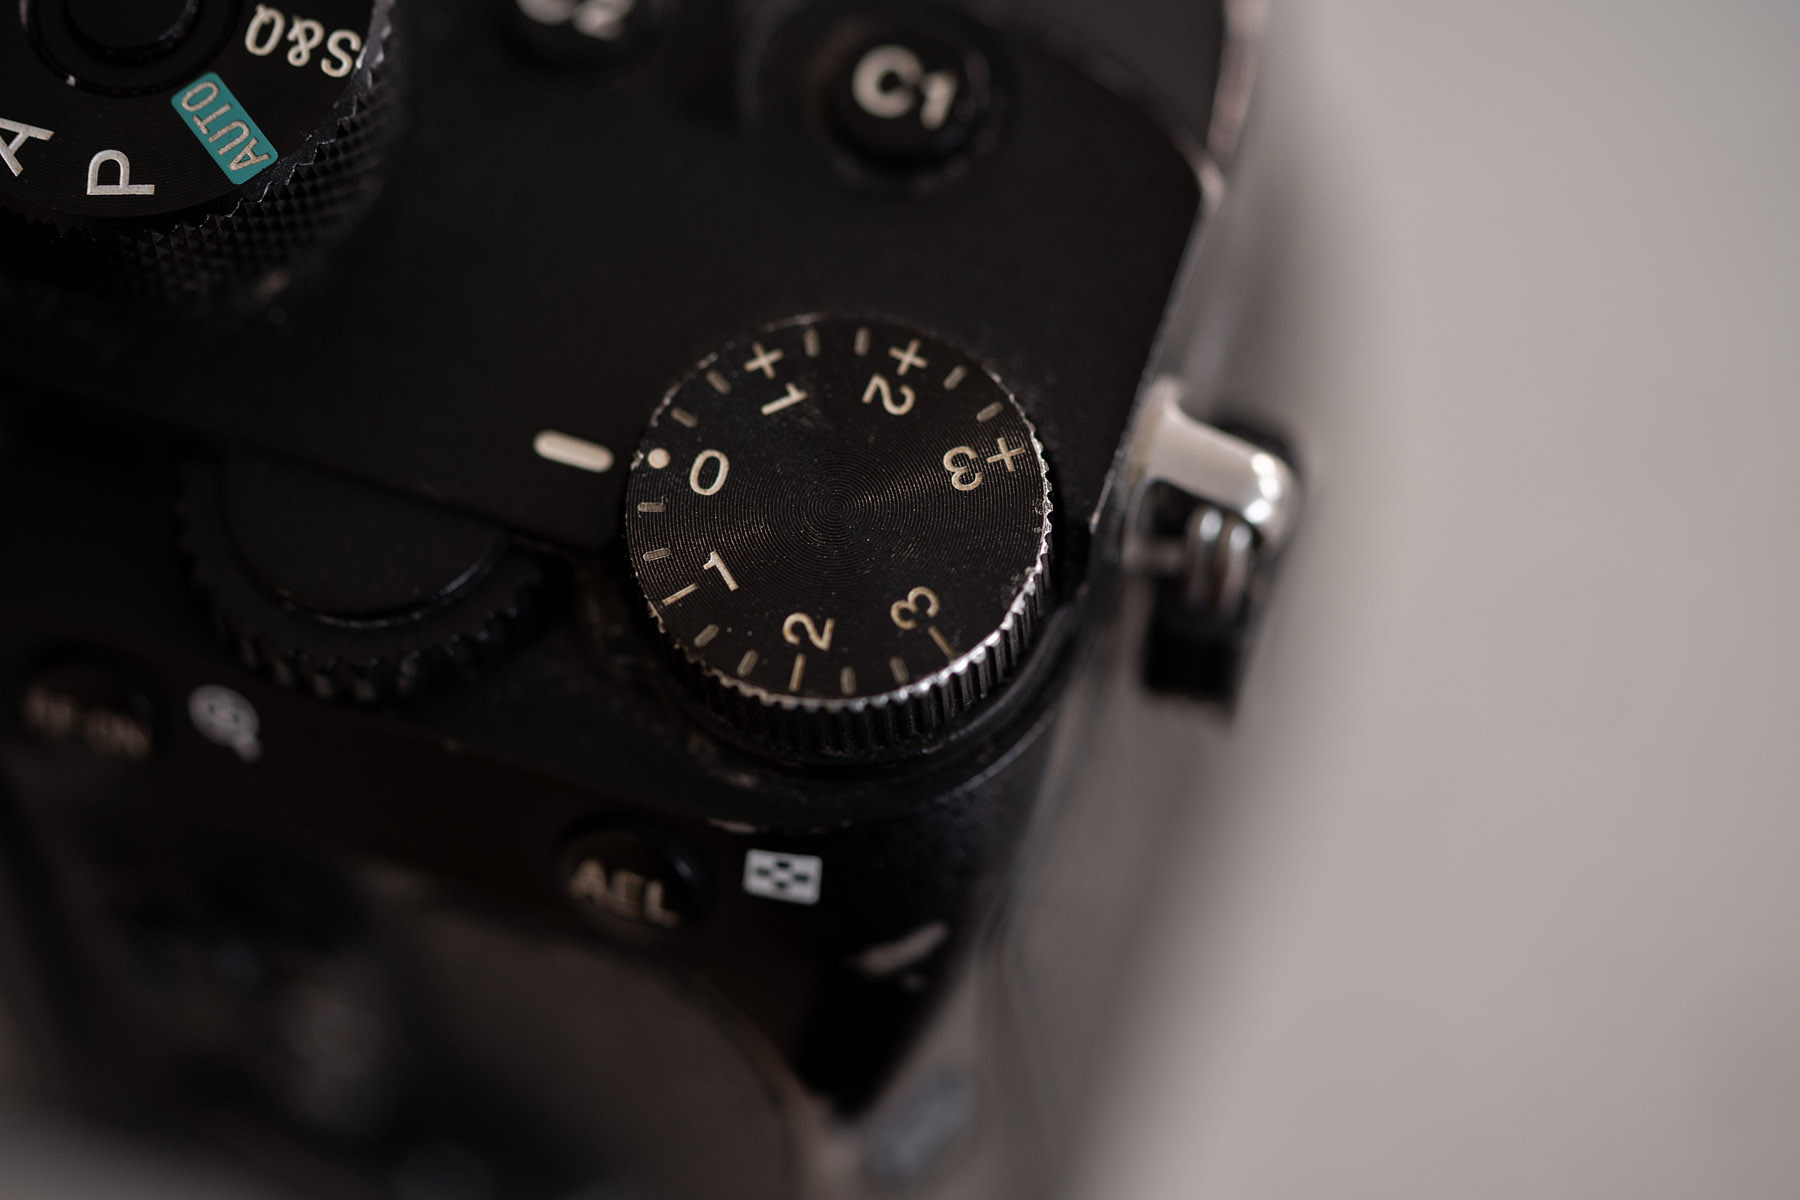
Exposure Comp. – This is how you can change the auto exposure so it meters darker or brighter, but the A7III and A7RIII both have a designated dial for exposure compensation so you wouldn’t need to search through the menus for it.
ISO – Have discussed this in the basic section above, Auto ISO is how I prefer to shoot.
ISO AUTO Min. SS – Have discussed this in the basic section above, 1/1000th is good for action.
Metering Mode – I find multi gives the most consistent results for nicely exposed images.

SteadyShot – If you turn this on then it activates the sensor stabilization which is amazingly useful if you are shooting a stationary subject at lower shutter speeds. Basically the sensor can move to help eliminate hand shake and give you a sharper image. But for surf I’m shooting a fast moving subject and apparently the steady shot can actually work against you in that circumstance so I turn it off.

Auto Review – If this is on each frame you shoot will play back in the viewfinder which means you can’t see what’s happening live. I turn it off.

Prioritize Rec. Media – Decides what card slot your files will write too. Slot 1 writes faster, so go with that.
Recording Mode – With the dual card slots you have different writing options. If you were shooting something very important you could set it up so it wrote duplicate files to both cards at the same time incase you had issues with a corrupted file on card slot 1, then you’d have a backup on card slot 2. This is actually how I have it setup to shoot weddings. I’ve never actually had a file corrupt on Sony, so for surfing I have it setup to standard which just records your files to one card.
Auto Switch Media – If you have this turned on when you fill up card 1, then it will automatically switch to card 2. Really handy when you’re out swimming.
I’ve recently got a couple of the new Sony Tough SD cards. They are pretty much indestructible! Waterproof and an innovative one-piece moulded design which doesn’t have those delicate little ribs that I always used to break. They write crazy fast too! With those 2 cards in my camera I can shoot over 5000 frames during a water-shoot.


Airplane Mode – If you’re swimming with your camera in a housing the last thing you want is to run out of battery. By switching Airplane mode on it turns of some high drain features of your camera that you don’t actually need while shooting like Wifi.
Sony A7III & Sony A7RIII Customisation

A feature I really love about the Sony cameras is you can do a lot of customisation. There’s 3 different areas you can customise. I highly recommend taking the time to customise your camera, it will greatly improve your shooting experience.
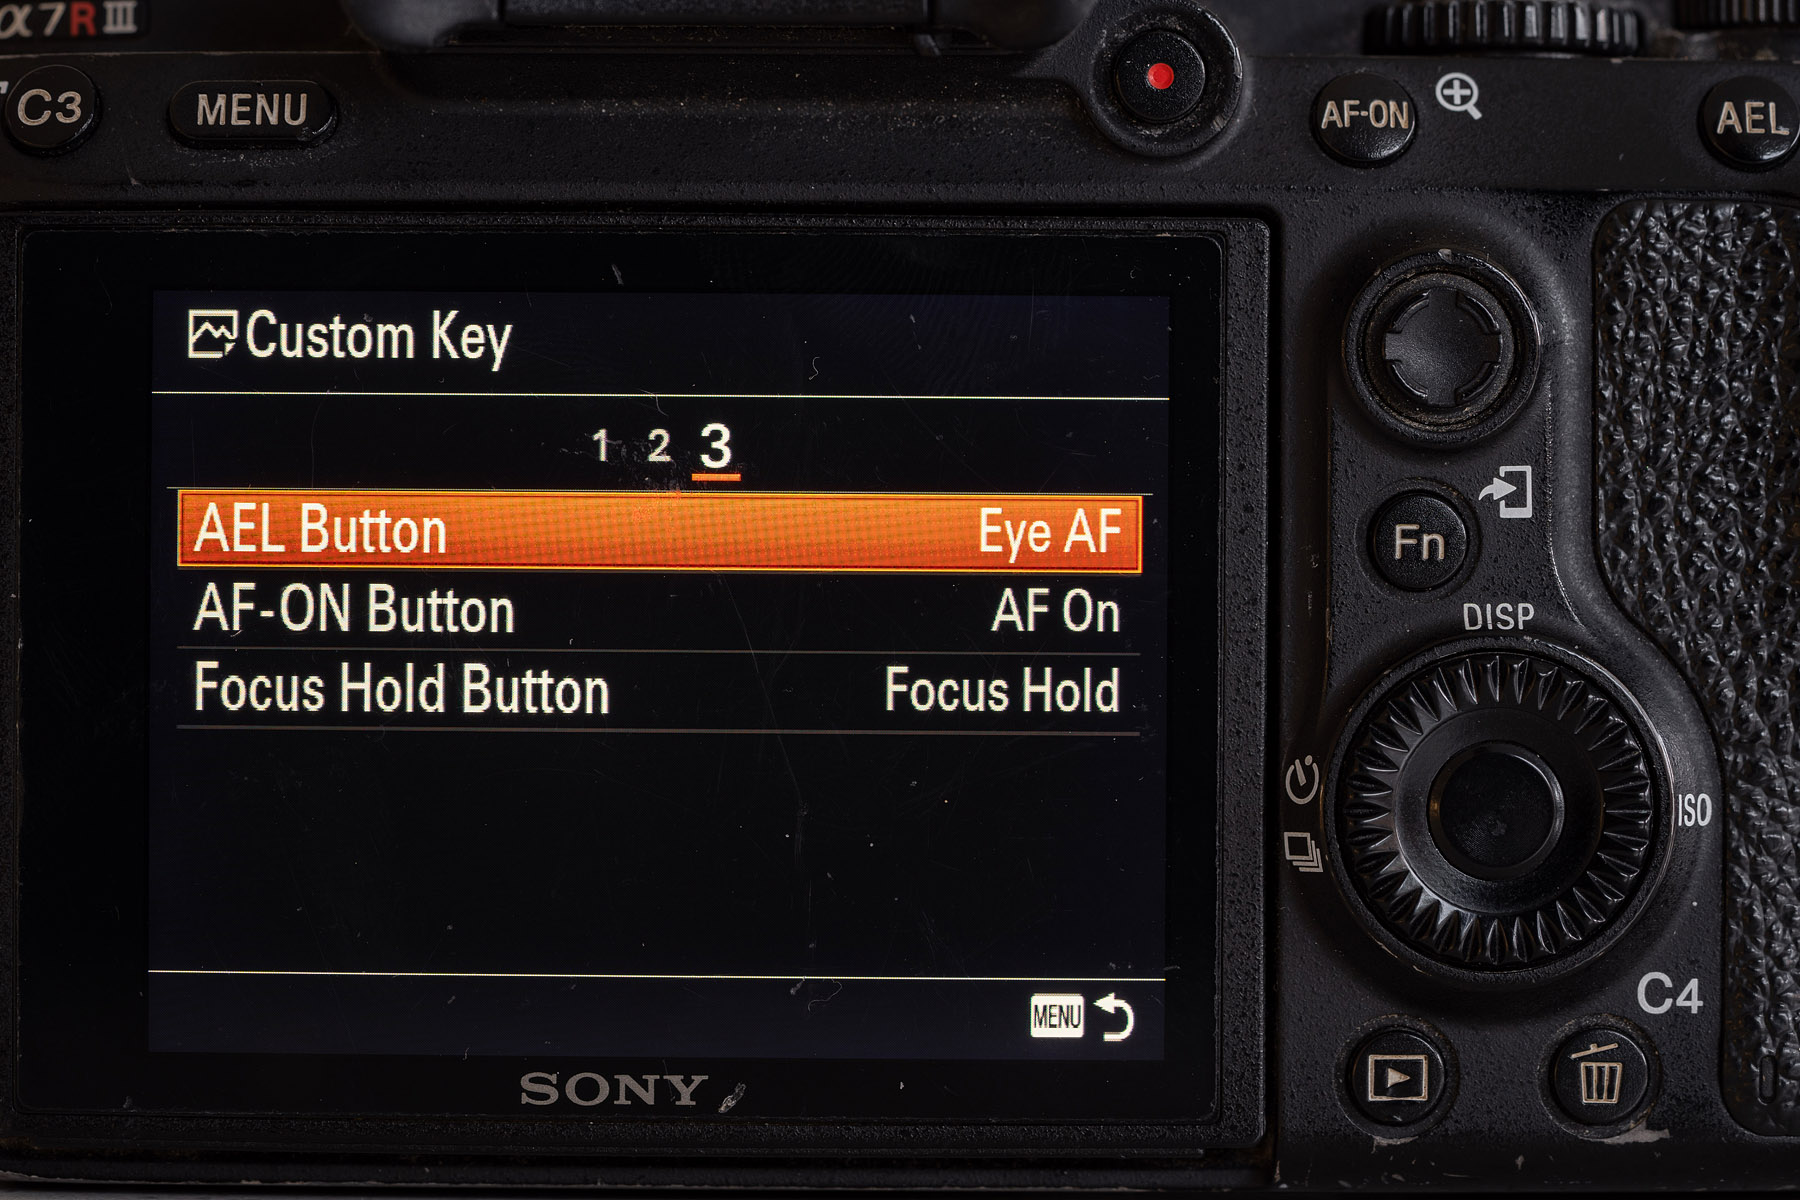
Custom Buttons
There’s 4 custom buttons that you can allocate to many different camera functions. You can also customise any of the other pre-allocated buttons so it’s easy to have your main functions available at your fingertips. Below is how I have my custom keys set up. A few things of note. Due to the fact that I need to push and put a bit of pressure on the back wheel when using with my housing, I don’t like to have any of the push functions allocated to that wheel or I might accidentally change a setting I didn’t mean to. I also have exposure compenstation allocated to custom button 4 as sometimes it can be difficult to use the exposure compensation dial in the housing.


Custom Menu
There’s a lot of items in pages and pages of menus and it can be a bit confusing at times. You have the ability to make your own custom “My Menu” where you can add your favourite 30 menu items in whatever order you like over 5 pages. I can fit pretty much everything I need into that menu so I rarely need to dive into the regular menu. Below is how I have mine customised.


Function Menu
If you push the Fn button just above the back wheel it will be bring up the Function Menu which you can also customise. This is an easy menu to popup when using in a water-housing so it’s a good spot to have your basic go to functions. Here’s how I have mine setup.


Wow you made it all the way to the end! Great commitment to becoming a camera tech nerd. If you have any questions, feel free to add in the comments below.
Cheers! Rambo.